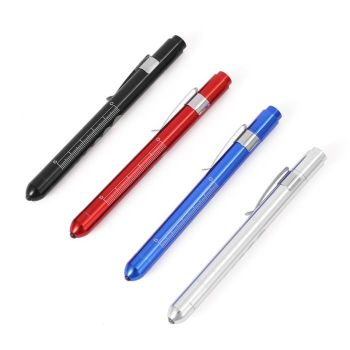
PJ036 Doctors use flashlights, pupil pen lights, oral, E.N.T, ophthalmic LED lights for examination, commonly used pen lights
?
Sign In
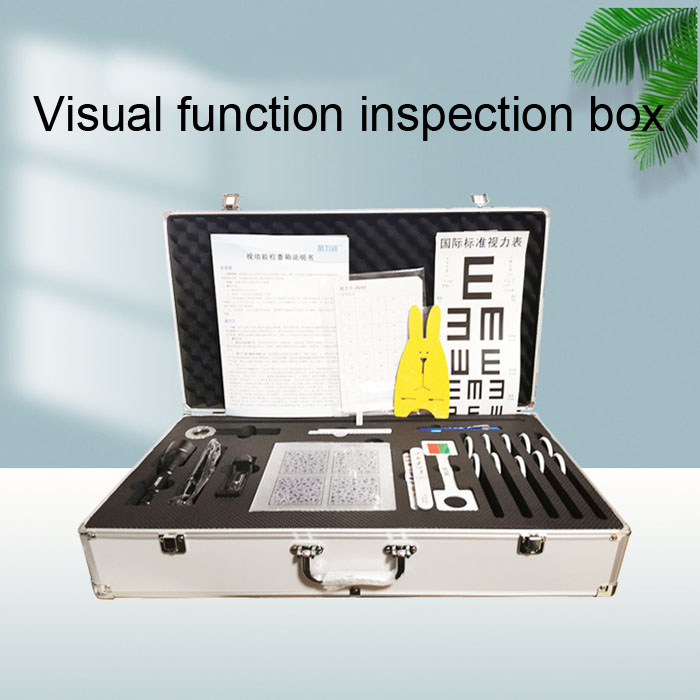
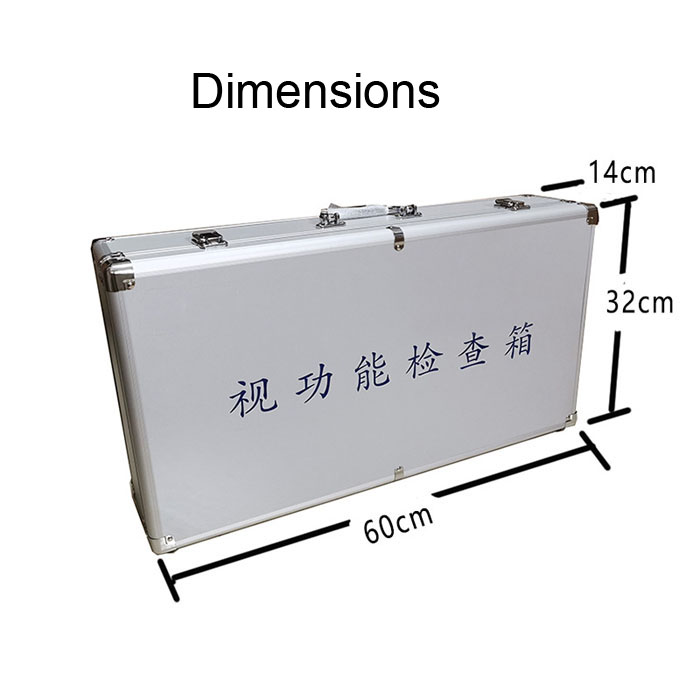
Your All-in-One Solution for Comprehensive Vision Assessment
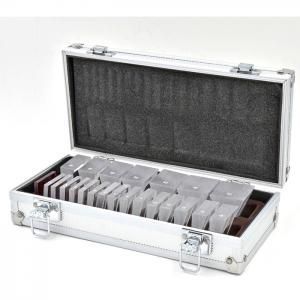
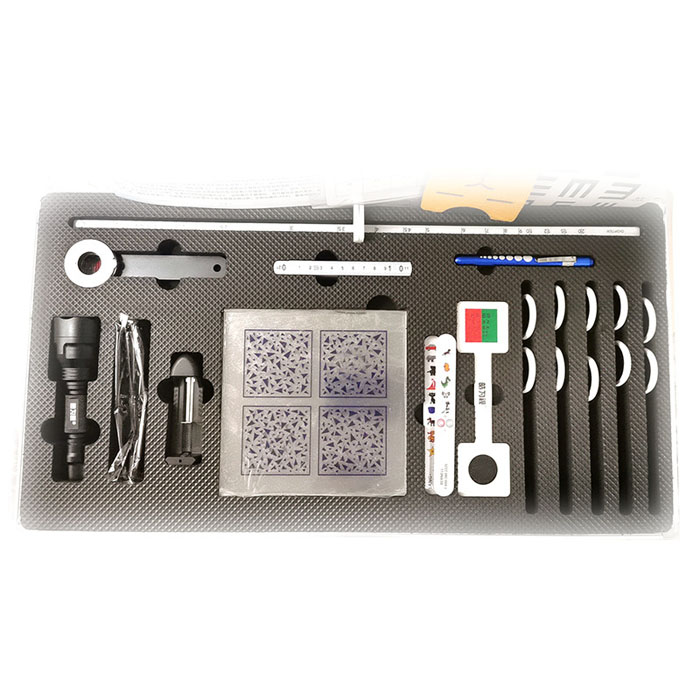
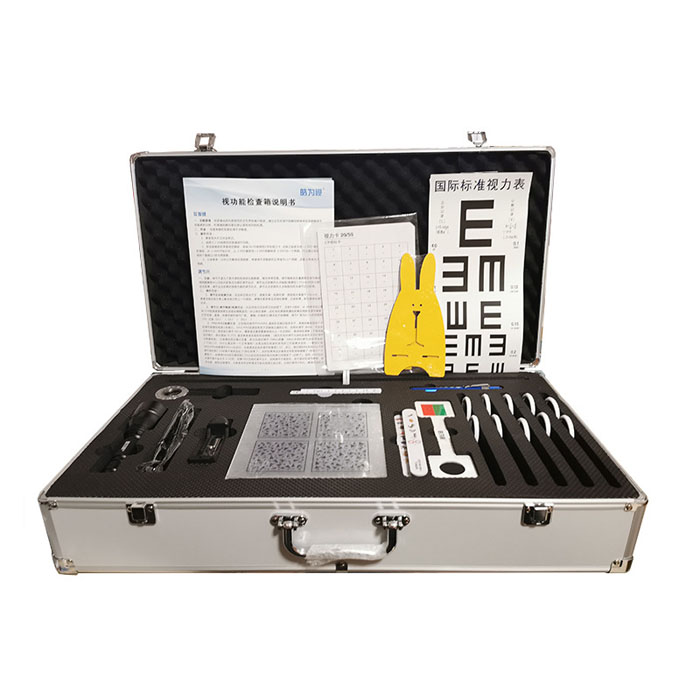
The JCX-001 Ophthalmic Visual Function Examination Box is a complete, professional-grade toolkit designed to streamline a wide range of vision tests. Ideal for optometrists, ophthalmologists, and vision care centers, this portable system consolidates everything you need for efficient and accurate examinations into one compact, organized case.
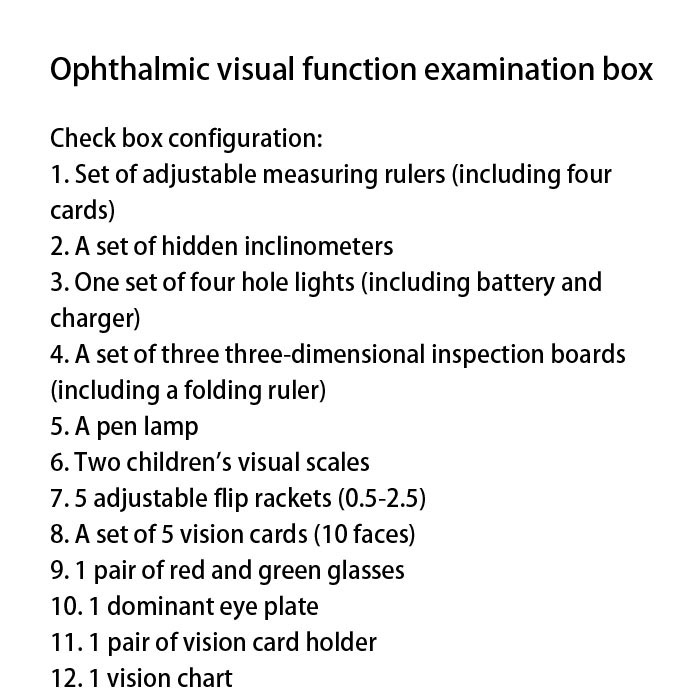
Our thoughtfully curated set includes 12 essential components to cover diverse testing scenarios:
Optimize your eye exams. Enhance your diagnostic capability. Order the JCX-001 Ophthalmic Visual Function Examination Box today and elevate the standard of care you provide.


Note: Spelling and medical terminology have been corrected from the original OCR text.
| Order | Inspection Item | Notes / Preliminary Analysis |
|---|---|---|
| 1 | Worth 4-dot test | Check if there is normal fusion function, if there is Monocular suppression, and if the glasses are standard. |
| 2 | Stereopsis test | Screening for stereo blindness and determining stereo acuity. |
| 3 | Eye position examination (skew deviation) | During the examination, cover should be continuously removed to fully break fusion, and both far and near should be checked. |
| 4 | NRA test | Low NRA is commonly found in: accommodative excess and overaccommodation; NRA abnormalities are commonly seen in: errors in refractive correction. |
| 5 | BCC test | No additional lighting added. |
| 6 | PRA test | Low PRA is commonly found in: accommodative lag, accommodative insufficiency. |
| 7 | AC/A ratio test | Normal AC/A is commonly seen in: insufficient fusion vergence function; Low AC/A, commonly seen in: basic esotropia and exotropia; insufficient convergence, insufficient divergence. |
| 8 | Accommodation flexibility test | Unilateral abnormalities are common in: accommodative dysfunction; Bilateral abnormalities include: convergence dysfunction. |
| 9 | Accommodation amplitude test | An accommodation amplitude below the minimum for the corresponding age is commonly indicative of accommodative insufficiency. |
| 10 | Near Point of Convergence (NPC) | A NPC that is too close or too far is often indicative of insufficient convergence; A NPC that is too close is common in convergence excess. |
Results observed by the patient:
Interpretation:
1. Dominant Eye:
2. First-Level Simultaneous Vision: If the patient reports ⑤ and ⑥, it indicates that the tested individual does not have the ability to perform first-level simultaneous vision.
3. Second-Level Fusion Vision: If the patient reports ⑦, it indicates that the subject has first-level simultaneous vision but does not have second-level fusion vision. If the patient reports ①, ②, ③, and ④, it indicates that the subject has both first-level simultaneous vision and second-level fusion vision.
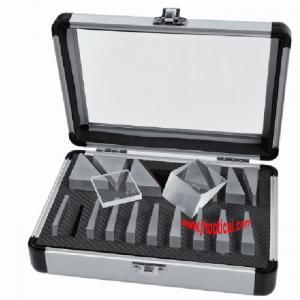
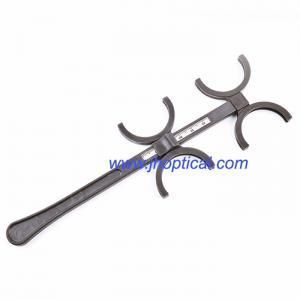
1. Usage: This instrument is mainly used to check the degree of heterophoria and the prism of heterophoria in the human eye. (Adding a single prism can expand the examination range.) It is one of the instruments for diagnosing abnormal eye position.
2. Technical Parameters: Examination range: 0–20 prism diopters. Each grid value is 1 prism diopter.
3. Operation Method: Before use, reset to zero. After the patient's refractive error is completely corrected in both eyes, focus both eyes simultaneously on a point light source (pen lamp) located at a distance of approximately 40 cm and 5 m in front. Then place the instrument in front of the right eye, observe the point light source through the instrument, and directly observe the point light source with the left eye. If the dots and lines overlap, there is no heterophoria; otherwise, heterophoria is present. At this point, turn the small handwheel until the dots and lines coincide, and then read the value on the reading ring. The value read is the degree of heterophoria prism to be checked.
(1) Examination of Vertical Heterophoria
After resetting the instrument to zero, place the instrument in a vertical position with the stripe groove of the connecting rod in front of the right eye. At this point, the right eye sees a horizontal red bright light, and the left eye sees a light source spot. (See Figure 1 — Left Eye Right Heterophoria / Left Eye Left Heterophoria.) Above (or below) the bright red light, as shown in Figures 1 and 2, are the left eye right heterophoria and left eye left heterophoria. Rotate the handwheel to align the dots and lines, and then read the heterophoria value on the reading ring.
(2) Examination of Horizontal Heterophoria (Esophoria / Exophoria)
After the instrument is divided and zeroed, place the instrument in front of the right eye according to the horizontal position of the Maddox rod stripe groove. At this time, what the right eye sees is a vertical red bright light, and what the left eye sees is a light source spot. If the dots and lines overlap, it indicates no heterophoria. Same as esophoria and exophoria. If the red bright light line is to the right of the light point, there is esophoria; if the red bright light line is to the left of the light point, there is exophoria. Rotate the small handwheel to make the dots and lines overlap; then read on the reading ring.
Figure 1: Left Eye Right Heterophoria
Figure 2: Left Eye Left Heterophoria
Esophoria / Exophoria
Restore the lenses to the basic state of both eyes before the NRA examination, and once again ensure that the patient's visual acuity is clear. Add negative lenses in front of both eyes, increasing by −0.25 D each time, until the patient reports that the visual acuity continues to blur. Record the total amount of negative lenses added, which is the amount of positive relative accommodation (PRA) for the patient. The normal value of PRA is −1.75 to −3.00. In fact, PRA reflects the reserve power of accommodation; the larger the absolute value, the better. If PRA is small (low absolute value), it indicates insufficient accommodative power, accommodative insufficiency or ineffective accommodation, which can lead to accelerated myopia in adolescents and children, while adults are more prone to visual fatigue.
First, place the target 1 centimeter in front of the eyes, then gradually pull the target further away until you can see the small cross at the center of the target clearly. Measure the distance between the eyes and the target, which is the closest distance between the eyes and the target.
When a certain accommodative stimulus is given, the human eye will make a corresponding accommodative response, which can be divided into accommodative lead, accommodative lag, and normal accommodative response according to whether the response is accurate.
The subject undergoes full correction at a distance of 40 centimeters using a near point card BCC (or FCC) visual aid (crosshair), with close pupillary distance and both eyes open. A ±0.50 D cross cylinder is added and the subject is asked to focus on the crosshair under dim lighting. The patient is asked to report which group of lines is clearer. If the patient reports that the vertical lines are clearer, the illumination level is reduced; if the patient still reports clearer vertical lines, they can flip the ±0.50 D cross cylinder and inquire again. If the patient still reports clearer vertical lines, stop the test and record the vertical line preference: increase the lens power of both eyes at a rate of +0.25 D until the patient reports that both lines are equally clear, and record the total amount of added lenses as the result of BCC. If the total amount of added lenses is positive, it indicates accommodative lag; if the total amount of added lenses is negative, it indicates accommodative lead. The normal reference value for BCC is +0.25 D to +0.50 D (for non-presbyopic patients).
Measure the subject wearing habitual prescription glasses. Gradually move the target from 40 cm or further towards the subject (moving at a speed of 3–5 cm per second), observing the subject's eyes, until one eye of the subject is observed to deviate from the target of gaze, or the subject reports seeing two images, and record the distance as the convergence break point. Move the target away from the subject until the subject is observed to return to the convergence state, or when the subject reports a change from double image to single image, record the distance as the convergence recovery point. The normal value of the break point is 5 cm.
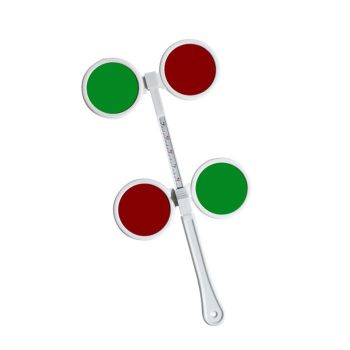
1. Examination Principle: This examination method applies the principle of red-green color complementarity. Colored filters complement the red and green colors of the four-dot light. The eye wearing the red lens cannot see green, only red, and white is also perceived as red; the eye wearing the green lens cannot see red, only green, and white is also perceived as green. Thus, the right eye can only see two red lights and one white light (all appearing red), and the left eye can only see three green lights (all appearing green).
2. Operation Method:
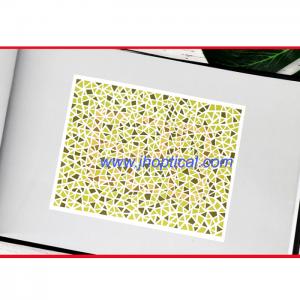
1. Usage: This test card set is used to check binocular stereo vision function. It is composed of three test cards with different depths. Each card is printed with four patterns, one of which is a three-dimensional image.
2. Examination Method:
3. Precautions: During testing, the test card should be placed against a white background for observation. During the test, the subject's line of sight should be perpendicular to the plane of the test card, and attention should be paid to not moving the head up, down, left, or right when observing. The surface of the test card should be kept clean and free from friction and scratches.
| Observation Distance (cm) | Thick Card (sec) | Medium Card (sec) | Thin Card (sec) |
|---|---|---|---|
| 30 | 600 | 300 | 150 |
| 40 | 340 | 170 | 85 |
| 50 | 215 | 110 | 55 |
| 60 | 150 | 75 | 40 |
| 70 | 110 | 55 | 30 |
| 80 | 85 | 40 | 20 |
| 100 | 55 | 25 | 15 |
| 120 | 40 | 20 | 10 |
| 150 | 25 | 10 | 5 |
1. How to Use the Dominant Eye Test Card: Examination of the dominant eye. Instruct the examinee to straighten their arms, raise the dominant eye test card, view distant targets through the holes in the card, and then close both left and right eyes. If the distant target disappears after closing one eye, then that eye is the dominant eye.
2. Usage of the Near Point Ruler (Visual Scale):
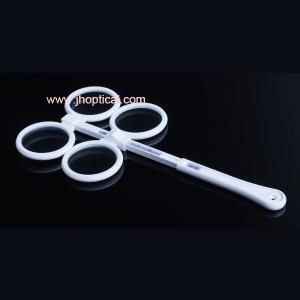
1. Functional Principle: The flipper lens is composed of two groups of lenses with the same refractive power, one plus and one minus. The training of accommodative sensitivity is achieved through the instantaneous flipping between plus and minus lenses, which has the same mechanism as the instantaneous focusing of the eyes.
2. Purpose: To check the accommodative sensitivity of one eye and both eyes.
3. Operation Method:
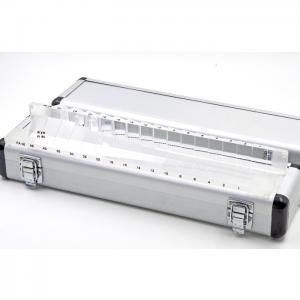
1. Function: The adjustable ruler is used for more convenient detection of visual function data and determination of abnormal ranges. The principle of accommodation amplitude quantification: When in the accommodative static state, the common focal point of the macular fovea is the far point of accommodation of the eye. The distance from the far point to the axial plane of the principal point of the eye (1.35 mm behind the cornea) is the distance to the far point of accommodation. The reciprocal of the distance to the far point is the near point of accommodation of the eye, and the distance from the near point to the axial plane of the principal point of the eye is the distance to the near point of accommodation.
2. Operation Method:
Negative Relative Accommodation (NRA): Completely correct refractive errors, fix the visual acuity chart at 40 cm, instruct the patient to focus on the line of visual acuity at the best visual acuity to ensure clear vision, add positive lenses in front of the eyes, increasing by +0.25 D each time, until the patient reports that the visual acuity continues to blur (because negative relative accommodation is a relaxation exercise and positive relative accommodation is a stimulation exercise), and record the total amount of positive lenses added. The normal value of NRA is 1.75 to 2.25. This is determined by the working distance used during the examination.