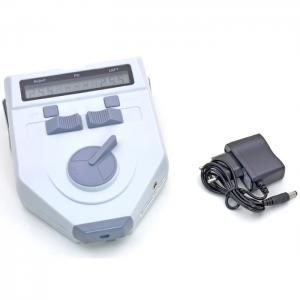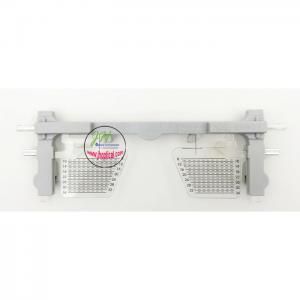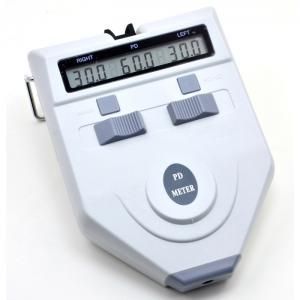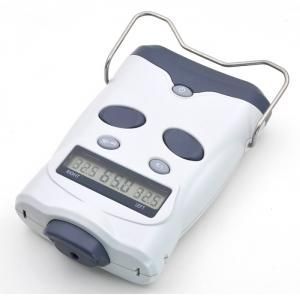
LY-9S Digital PD meter (Range:43-83mm)
?
Sign In

| Binocular Pupillary Distance | 46-82mm |
| Monocular Pupillary Distance | 23-41mm |
| VD Distance | 6-20mm |
| Indication Error | ≤0.5mm |
| Distance Range | 30cm ~∞ |
| Auto Power-off | 2 Minutes |
| Electric Voltage | DC 3V (2pcs AA battery) |
| Dimension | 220x160x60mm |
| Weight | 0.6kg |
The LY-9G Multifunctional Pupillometer is a precision optical instrument built for optometry professionals. It accurately measures pupillary distance (PD), pupil height (PH), and vertex distance (VD) between the glasses and the eyes during eye exams.
We built the world's first pupillometer capable of measuring pupil height, expanding the coreometer's original functions to three. This gives optometrists a more complete toolset to meet every measurement need.
Measuring pupil height has never been easier. Even a beginner can accurately measure a customer's pupil height, making it simpler for stores to promote progressive lenses with confidence.
The device uses corneal reflection point detection for a direct and continuous sampling process, delivering fast and reliable results every time.
A high-precision linear sensor paired with an advanced algorithm improves detection accuracy. This approach offers convenient operation while effectively eliminating measurement errors caused by human factors.
Measurement results are displayed on a large viewing-angle LCD screen, making them intuitive and easy to read at a glance.
New-generation lenses reduce dispersion and deformation by 20%, ensuring sharper and more accurate readings.
The mold surface features anti-fingerprint processing and is both waterproof and anti-oil, keeping the device clean and protected during daily use.
Upgraded low-power processors increase battery life by 40%, so you can work longer between charges.
A new-generation LED light source is soft and easy on the eyes while cutting energy consumption by 60%.
Weighing only 600 grams, the LY-9G is 30% lighter than similar products—comfortable to hold and easy to carry.
After loading the battery, LCD (3) will show the current value of the PD (device self-test completes).
Push both the PD Adjustment Slide (right)(6) and PD Adjustment Slide (left)(7) toward to the middle. At this moment, the value of right PD and left PD are 23 on the LCD(3); the center of the display shows the minimum value of the device: both PD 46. Then push the buttons (6)/(7) to the lateral, both right PD and left PD show the value of 41. In the middle of the screen it shows maximum value of the device: 82. In the process of sliding buttons (6)/(7), the value index in LCD(3) will change simultaneously.
Turn the Focal Distance Adjustment Knob (8) to a certain position, usually set to infinity (∞).
For turning into sleep mode, LCD(3) should be closed, and press the switch (4) again.
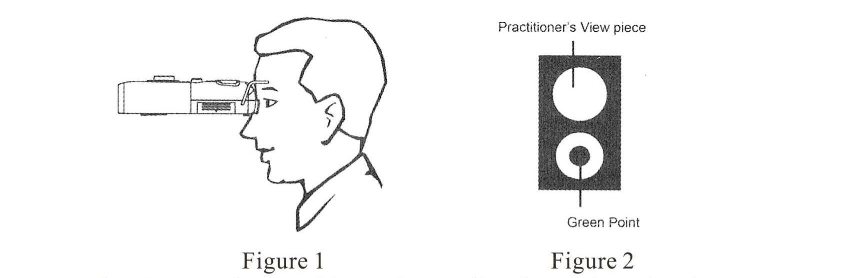
Patients should hold the PD meter like carrying binoculars, and should be cautious of the forehead bracket(1) and nose support(2) as shown in Figure 1.
The patient is able to see through the windows(10), as shown in Figure 2, which allows them to stare at the green point.
Optometrists could see the pupil reflex point of patients through the observation hole(9), as shown in Figure 3.

Figure 3
(Diagram showing Needle and Pupil Reflex Point)
When measuring, the optometrist slides the PD adjustment (right/left)(6)/(7), and lets the needle block the reflecting point of the eye, as shown in Figure 4.

Figure 4
(Diagram showing needle blocking the reflecting point)
After the measurement, LCD(3) screen will show the PD values. The left side of the screen shows the distance from the patient's right pupil to the center of nose and the right screen shows the distance from the patient's left pupil to the center of nose. The middle of the LCD(3) screen displays the PD value of both eyes. The PD value is measured by millimeters. The device will be automatically set to standby mode after 2 minutes without any measurement.
In the case for the Monocular PD measurement, switch the Eye Shield Switch(16) to block the other eye. The switch(16) is located on the bottom of the device.
Press the function switch(5), LCD(3), screen should display the "LD" sign, which presents changing to the eye lens distance measurement mode.
Turn the Focal Distance Adjustment Knob(8) to the 30cm position.
Optometrist stands to the lateral side of the patient and holds the pupil meter horizontally. (Figure 5) If the optometrist is on the left side of the patient, please use the right window(10); If the optometrist is on the right side of the patient, please use the left window(10).
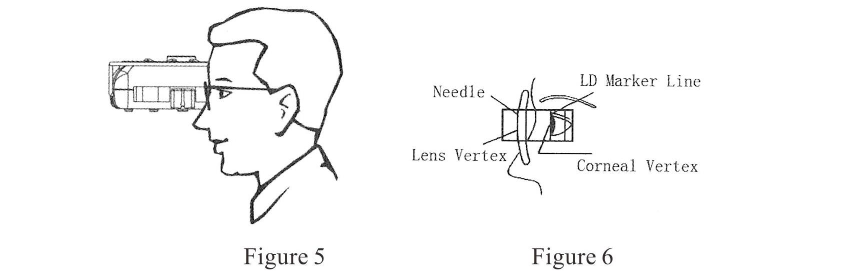
Figure 5
(Diagram showing side view of user holding the device)
Figure 6
(Diagram showing Needle, LD Marker Line, Lens Vertex, and Corneal Vertex)
Let the LD Marker Line(13), which is close to the nose support on the window lens, aim to the patient's corneal apex. Align the needle(11) at the highest point outside the arc of patient's glasses, as shown in Figure 6.
The exact distance between the cornea and the lens is obtained by subtracting the lens thickness from the digitally displayed value.
Press the function switch(5), LCD(3) screen should display the "PH" sign, which presents changing to the pupil height distance measurement mode.
Turn the Focal Distance Adjustment Knob(8) to the 30cm position.
Reverse the nose support(2) and insert it into the plastic shell.
Taking the left eye measurement as an example. Firstly erect the pupillometer. Then hold underneath it with the right hand, put either the forefinger or middle finger on the PD Adjustment Slide (left)(7), and put the left hand above the device to make it steady, as shown in Figure 7.
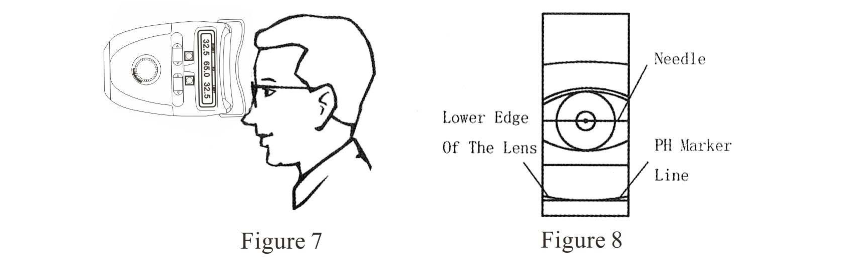
Figure 7
(Diagram showing front view of user holding the device)
Figure 8
(Diagram showing Needle, Lower Edge Of The Lens, and PH Marker Line)
Align the PH Maker Line(12) on the window to the lower edge of the lens of the patient. Push the PD adjustment slide (left)(7) and let the needle(11) block the reflecting point of the eye (Figure 8). Then the LCD(3) screen will show the PH value of the left eye.
If you need to measure the right eye, please rotate the device by 180 degrees. Hold the top of the pupillometer with the right hand and support the under part with the left hand. Let the left side of the window align with the right eye of the patient. Use the index finger or middle finger to push the button(6). The needle(11) could block the reflective point of the eye. LCD(3) will show the PH value of the right eye.
3.1. The device has been adjusted and checked strictly after manufacturing. Please do not attempt to disassemble or modify the device, which will negatively affect the accuracy of measurement.
3.2. This device is a high accuracy measurement device. Avoid shaking and handle with care.
3.3. Operation Condition: Temperature: Between 10℃ to 40℃, Humidity: Between 25% to 85%. Storage Condition: Temperature: Between 5℃ to 50℃, Humidity: Between 25% to 85%.
3.4. Please do not touch the LCD screen with your fingers. If there are dust or fingerprints on it, clean with a lens cleansing cloth.
3.5. Keep the device clean. Do not use any chemical solvents or aerosol cleansers.